昨天透過 Parchement 新增了三種不同的 Attributor,今天來看要如何在編輯器上運用。官方文件介紹嘗試實現一個類似 Medium 的功能編輯器,今天就來逐步練習看看。
實現 Medium 編輯器
為了提供一致的編輯體驗,我們需要同時具有一致的資料及可預測的行為,然而這兩項是 DOM 都沒有的。現代編輯器的解決方案是維護自己的文件模型來表示其內容。對於 Quill 來說,Parchment 就是這樣的一個解決方案。它在自己的 library 中有組織的架構,並有屬於自己的 API。透過 Parchment,我們就可以自定義 Quill 能夠識別的內容與格式,或者加入全新的格式。
在官網這份指南中,我們將使用 Parchment 和 Quill 提供的基礎模組來複製 Medium 上的編輯器。我們將從 Quill 的最基本架構開始,不涉及任何 Theme,額外的模組或格式。在這個基礎上,Quill 只能理解純文本。但跟著這份指南做到最後,連結,影片甚至推文都能被 Quill 所辨別。
準備工作
剛開始我們不使用 Quill,而只需要 textarea 及按鈕。並且將按鈕加上 event listener。文件的介紹是使用 jQuery 來實現,但我們就直接在 Angular 專案下來做這個練習囉。另外還需要 Google Fonts 和 Font Awesome 為練習的專案加上一些基本樣式。這些都和 Quill 或 Parchment 沒有直接關係,這部分就快速帶過。首先新增一個練習用的 Component,之後分別將 HTML 以及 CSS 加到 Component。
HTML :
<p>medium-editor works!</p>
<div #tooltipControls class="tooltip-controls">
  <button id="bold-button" (click)="formatBold()">
    <i class="fa fa-bold"></i>
  </button>
  <button id="italic-button"><i class="fa fa-italic"></i></button>
  <button id="link-button"><i class="fa fa-link"></i></button>
  <button id="blockquote-button"><i class="fa fa-quote-right"></i></button>
  <button id="header-1-button"><i class="fa fa-header"></i><sub>1</sub></button>
  <button id="header-2-button"><i class="fa fa-header"></i><sub>2</sub></button>
</div>

<div class="sidebar-controls">
  <button id="image-button"><i class="fa fa-camera"></i></button>
  <button id="video-button"><i class="fa fa-play"></i></button>
  <button id="tweet-button"><i class="fa-brands fa-twitter"></i></button>
  <button id="divider-button"><i class="fa fa-minus"></i></button>
</div>

<textarea
  class="editor-container"
  placeholder="Tell your story..."
  #editorContainer
></textarea>
CSS:
* {
  box-sizing: border-box;
}

.editor-container {
  display: block;
  font-family: 'Open Sans', Helvetica, sans-serif;
  font-size: 1.2em;
  height: 200px;
  margin: 0 auto;
  width: 450px;
}

.tooltip-controls, .sidebar-controls {
  text-align: center;
}

button {
  background: transparent;
  border: none;
  cursor: pointer;
  display: inline-block;
  font-size: 18px;
  padding: 0;
  height: 32px;
  width: 32px;
  text-align: center;
}

button:active, button:focus {
  outline: none;
}
Component 我們只加了一個 formatBold 方法來和 template 做事件綁定:
import { Component } from '@angular/core';
import { CommonModule } from '@angular/common';

@Component({
  selector: 'app-medium-editor',
  standalone: true,
  imports: [CommonModule],
  templateUrl: './medium-editor.component.html',
  styleUrls: ['./medium-editor.component.scss'],
})

export class MediumEditorComponent {

  formatBold() {
    alert('click!');
  }
}
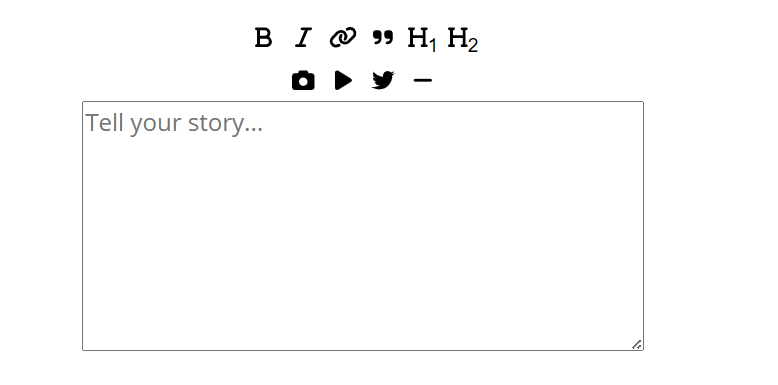
執行 serve 指令之後確認渲染的結果:
加入 Quill 核心
接下來,我們將用 Quill 核心取代文字區域,去除主題、格式和無關模組。打開 Dev tool,在編輯器中輸入內容時檢查示範。可以看到 Parchment 文件的 base building block 正在執行中。
HTML 的部分,將剛才加入的 textarea 改成 div 並帶入範本參考變數 (Template Reference Variable) editorContainer, 例如:
<div class="editor-container" #editorContainer>Tell your story...</div>
由於換成 div,所以 editor-container class 也有做了小更動:
.editor-container {
  border: 1px solid #ccc;
  font-family: 'Open Sans', Helvetica, sans-serif;
  font-size: 1.2em;
  height: 200px;
  margin: 0 auto;
  width: 450px;
}
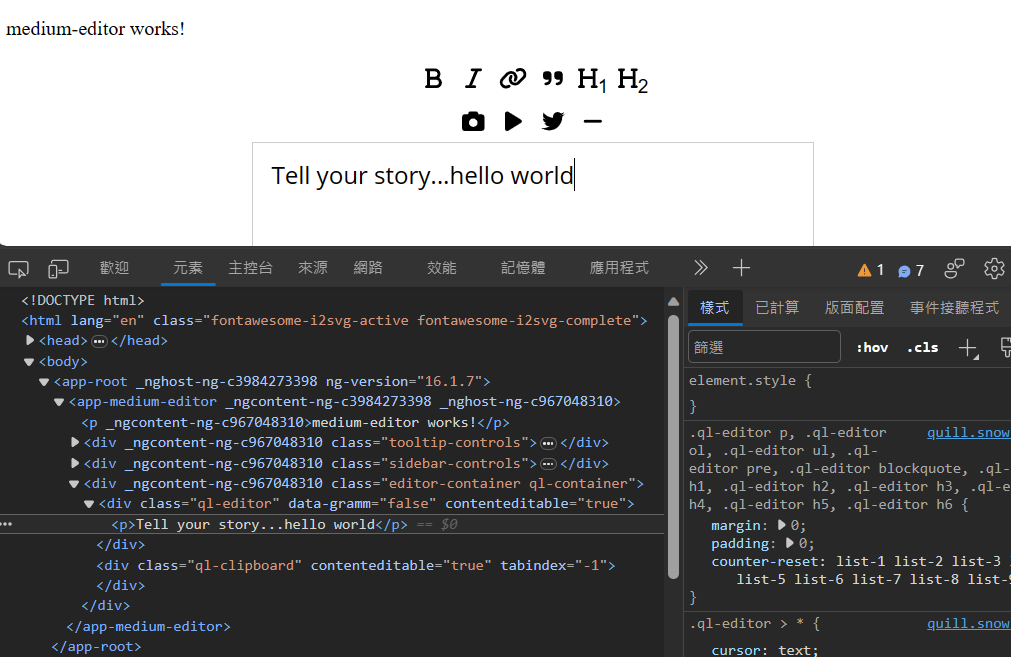
存檔重新整理之後,嘗試在編輯區域打字,可以看到 Quill 核心正在執行中:
就像 DOM 一樣,Parchment 文件是一個樹 (tree)。它的節點稱為 Blot,是 DOM 節點的抽象化。已經有一些 blot 已經為我們定義了,例如:Scroll, Block, Inline, Text 以及 Break。當我們輸入文字的時候,Text Blot 會與對應的 DOM 文字節點同步。而 Enter 則會建立一個新的 Block Blot 來處理。在 Parchment 中,可以有子項的 Blot 必須至少有一個子項,因此 Empty Block 會被 Break Blot 填滿。這使得處理樹葉 (leaves) 變得簡單且可預測。所有這一切都組織在 Root Scroll Blot 下。
這時我們無法僅透過輸入文本來觀察 Inline Blot,因為它不會為文件提供有意義的結構或格式。有效的 Quill 文件必須規範 (canonical) 且緊湊 (compact)。只有一棵有效的 DOM 樹可以表示給定的文件,並且該 DOM 樹包含最少數量的節點。
由於 <p><span>Text</span></p> 和 <p>Text</p> 代表著相同的內容, 前者是無效的,Quill 的優化過程之一就是拆開 <span>. 同樣地,一旦我們加入格式,<p><em>Te</em><em>st</em></p> 和 <p><em><em>Test</em></em></p> 也是無效的,因為它們不是最緊湊的表示方式。
因為這些限制,Quill 無法支援任意 DOM 樹和 HTML 變更。但正如我們將看到的,這種結構提供的一致性和可預測性使我們能夠輕鬆建立豐富的編輯體驗。
小結
今天開始嘗試從無到有實現 Quill 的基本功能,官網文件介紹是使用 jQuery 當作範例,但因為我們主要是在 Angular 的專案上開發,所以範例的部分都融入了 Angular 元件的生命週期,使用起來更貼近實際的開發情況。明天繼續練習 Basic Formatting 以及自訂 blot 的部分。
雜記
今天中午吃飯經過南港展覽館,看到人比平常還多就知道這週末有展期了,分別是世界貓咪博覽會,還有攝影器材暨影音創作設備展,台灣戶外用品展,共有三個展覽同步在今天開始,如果是貓奴、有在玩影音創作相關設備或是時常在露營的人,感覺進去錢包就會被榨乾 XD
Reference
文章同步發表於2023 iThome 鐵人賽